


Today I'll show you how to install and configure NxFilter on CentOS 7. This tutorial assumes that you have a working install of CentOS 7 and you have access to and know how to use Putty and WinSCP. My example is running as a VMWare virtual machine.
Let's begin. Connect to your machine using Putty and ensure that your machine is patched fully by using:
yum update
Now that your machine is up to date we'll open the ports necessary to connect to NxFilter once it's installed. HTTP or port 80 is used to connect to the web GUI and port 53 is required to allow DNS requests from machines on your network.
firewall-cmd --permanent --add-service=http
firewall-cmd --zone=public --add-port=443/tcp --permanent
firewall-cmd --zone=public --add-port=53/tcp --permanent
firewall-cmd --zone=public --add-port=53/udp --permanent
firewall-cmd --reload
Now we'll download the RPM packages necessary to install NxFilter. Go to Rob Asher's NxFilter RPMs page here:
https://bitbucket.org/DeepWoods/nxfilter-rpms/downloads/
Click the Download Repository link from the site above to download the zip file. In my case it was named DeepWoods-nxfilter-rpms-e32cd76552c8.zip. Extract the files from zip file in preparation for uploading to your CentOS server.
Now open WinSCP and navigate to the /tmp directory. Drag and drop your preferred rpm from your extracted files folder into your WinSCP /tmp pane. In my case the file was called nxfilter-4.1.6-p1.noarch.rpm. We are now ready to install NxFilter onto our server.
Open Putty and navigate to your /tmp folder like so:
cd /tmp
To run the installation package execute the following within putty:
yum --nogpgcheck localinstall nxfilter-4.1.6-p1.noarch.rpm
Change the file name in the above syntax to reflect the file name that you uploaded via WinSCP earlier in this process. Once the installation is complete run the following to see whether NxFilter is running:
systemctl status nxfilter.service
If the result returned:
Active: inactive (dead)
Then you will need to start the service like so:
systemctl start nxfilter.service
To ensure that the NxFilter service start even after a server reboot run the following:
systemctl enable nxfilter.service
We should now be able to navigate to the Web GUI to administer our newly created instance on NxFilter. To do so, open up a web browser and navigate to the IP Address (mine is 192.168.0.19) of your server like so:
http://192.168.0.19/admin
If your installation is working as it should be you should see the NxFilter logon page:
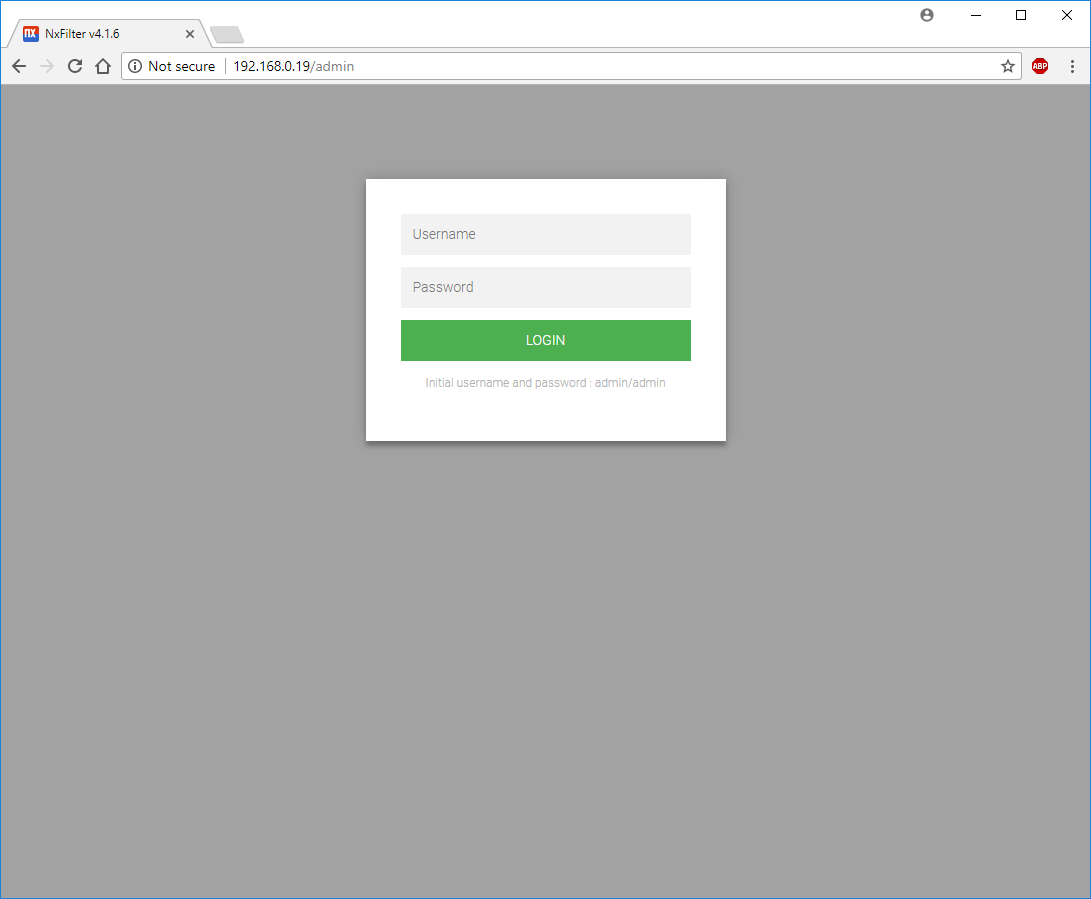
The initial username is admin and password is admin. Please ensure you change these upon first logon to ensure the integrity of the system.
This is great way to add additional security to your network by preventing users going to undesirable websites. You can block a category of sites like say Hacking or Phishing/Malware or even customise it to suit your requirements like blocking Youtube for instance.
Once you've had MxFilter running for a period you may need to update it. The update syntax is as follows:
yum update --nogpgcheck nxfilter-x.x.x.noarch.rpm
It's a good idea to restart the NxFilter services after the update is installed. You can do that via the following syntax:
systemctl restart nxfilter
Where x.x.x is the version you've download from the NxFilter update site. You can download the update packages from here...
If you've found this useful, you may want to sign up to our newsletter where you'll receive notices on when we post new articles and helpful "how tos". Just fill out your details below and we'll do the rest...


