


Today I'm going to show you how to Export the Members of a Distribution Group from O365 Online Exchange. You'd think that Microsoft would provide this feature within the O365 Portal, but that would make life too easy wouldn't it?
The ridiculous feature Microsoft implemented instead was to enable you to export all the names of the Distribution Groups rather then the members of each Distribution group. While I'm sure there are instances where this would be required, I find the omission of the the ability to export the members of the group mind boggling to say the least.
I sometimes wonder what the thought processes are with the guys coding the UI at Microsoft and features sets they deploy. Why the Distribution Group names were deemed more important than the actual members is next level shortsightedness. WOW! But enough of my rant... Let's get to obtaining the info you need that Microsoft neglected to provide you with the necessary tools to do simply through the O365 Portal UI...
We're going to be doing this via PowerShell so open a PowerShell instance as Administrator and follow the steps outlined below...
First we need to ensure that you have the Exchange Online Management installed so you can connect to Online Exchange via PowerShell by running the following:
Import-Module ExchangeOnlineManagement
Once that's complete, we're going to connect to Exchange Online using and account that has the necessary permissions to connect remotely via PowerShell Exchange. You can find out how to allow your admin account to use Exchange Online via PowerShell here... Use the following command:
Connect-ExchangeOnline -UserPrincipalName [email protected]
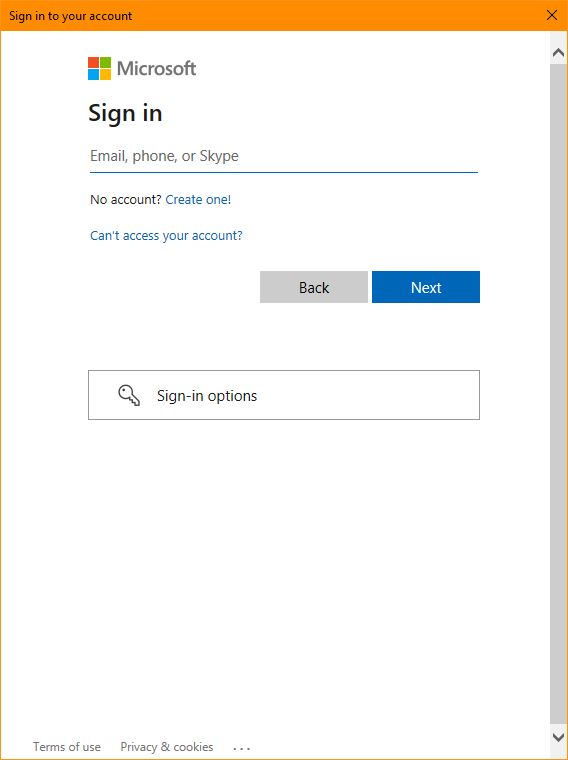
Change the UserPrincipalName [email protected] with your O365 admin account. You should receive a pop screen asking you to logon to your O365 account like so:
Once you've successfully logged on, we can now display all the Distribution Group names using:
Get-DistributionGroup -ResultSize Unlimited
You should see all the various names of your Distribution Groups listed. You need to take note of the "Name" column because this is what we'll need to as the identity in the next PowerShell command. Most likely your Distribution Group name will be something like YourGroupName2022031525709. With the information run the following to confirm the list is valid:
Get-DistributionGroupMember -Identity "YourGroupName2022031525709" -ResultSize Unlimited
Replace YourGroupName2022031525709 in the example above with the Distribution Group name you identified in the previous step. You should see all the users listed from the Distribution Group. Once confirmed we're ready to export to a CSV file using the following:
$DLName = "YourGroupName2022031525709"
Get-DistributionGroupMember -Identity $DLName -ResultSize Unlimited | Select Name, PrimarySMTPAddress, RecipientType | Export-CSV "C:\Distribution-List-Members.csv" -NoTypeInformation -Encoding UTF8
Once executed all the members will be exported to the following location:
C:\Distribution-List-Members.csv
That's it, your task is done. Hopefully, this has saved you the time we wasted doing this.
If you've found this useful, you may want to sign up to our newsletter where you'll receive notices on when we post new articles and helpful "how tos". Just fill out your details below and we'll do the rest…


