


Just a brief post today to outline how to rectify an issue where ESXi 7U1 can't see a SATA Logical drive from your RAID configuration. This is despite using the HPE Custom ESXi ISO image so we knew the drivers were available to the ESXi install.
Just a bit of background, so you're aware of how we got to this position...
We were setting up a brand new HPE ML350G10 server for a client and mucking around with various RAID configurations to see the best fit for the solution. Installing ESXi to see the performance on the various RAID setups to complete our evaluations.
Once we decided on the configuration we were going to run with, we nuked the entire RAID setup and re-installed ESXi from scratch so we had a clean canvass to work from. The setup of both the RAID and ESXi went without a hitch. This is when the issue started.
When we went to add the storage through the ESXi web console, we discovered that the SSD Logical Disks were visible, but the SATA Logical Disks weren't. We thought that this is weird because we had totally deleted the previous RAID setup and recreated it through the HPE Provisioning UI and we did this numerous times to ensure we had carried out the task accurately.
So how do you fix it? Well it turns out that nuking a RAID Array works when using SSDs, but not SATA for some reason. It seems that the SATA Logical Disks aren't re-initialised/reformatted under the new RAID configuration, and the partition table for the logical Disks is left untouched. Wow!
I was under the impression that when you nuke a RAID Array that the entire setup is lost and virtually irretrievable unless the disks are sent to a specialised Hard Disk recovery service.
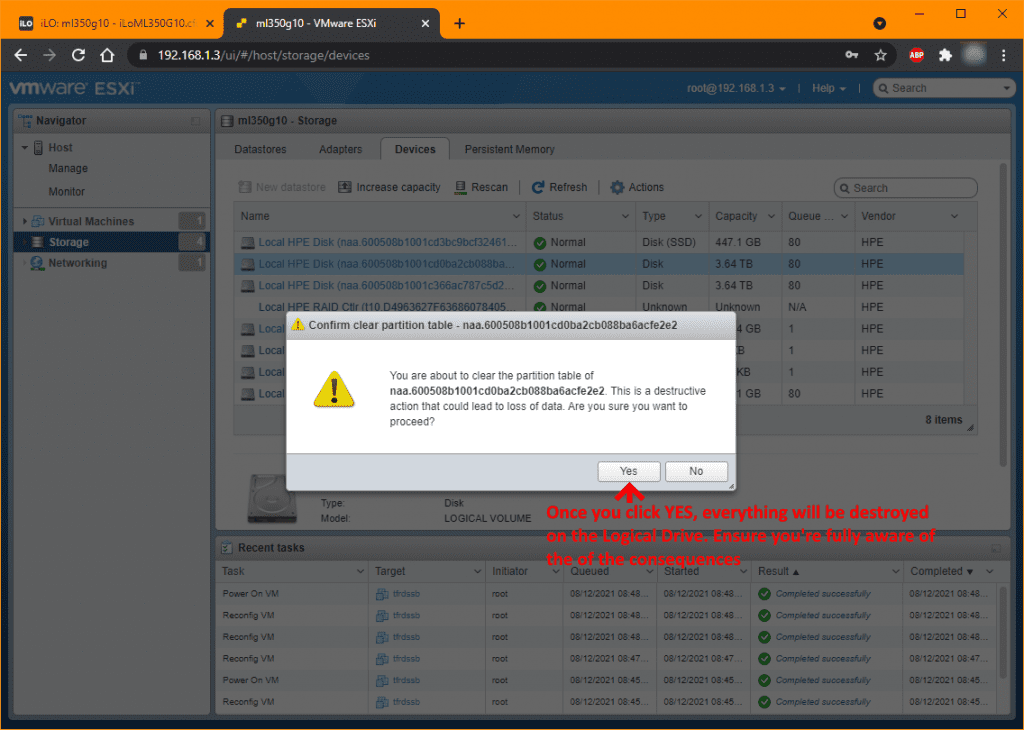
Please note, that what I'm about to outline means you will lose everything on the Logical Disks using this procedure. THIS MEANS ANY VIRTUAL MACHINES AND DATA WILL BE LOST PERMANENTLY. PLEASE ENSURE THAT YOU'RE FULLY AWARE OF THE REPERCUSSIONS BEFORE CARRYING OUT THIS PROCEDURE!!!
So, once you're comfortable that you're not losing anything of value, let's begin...
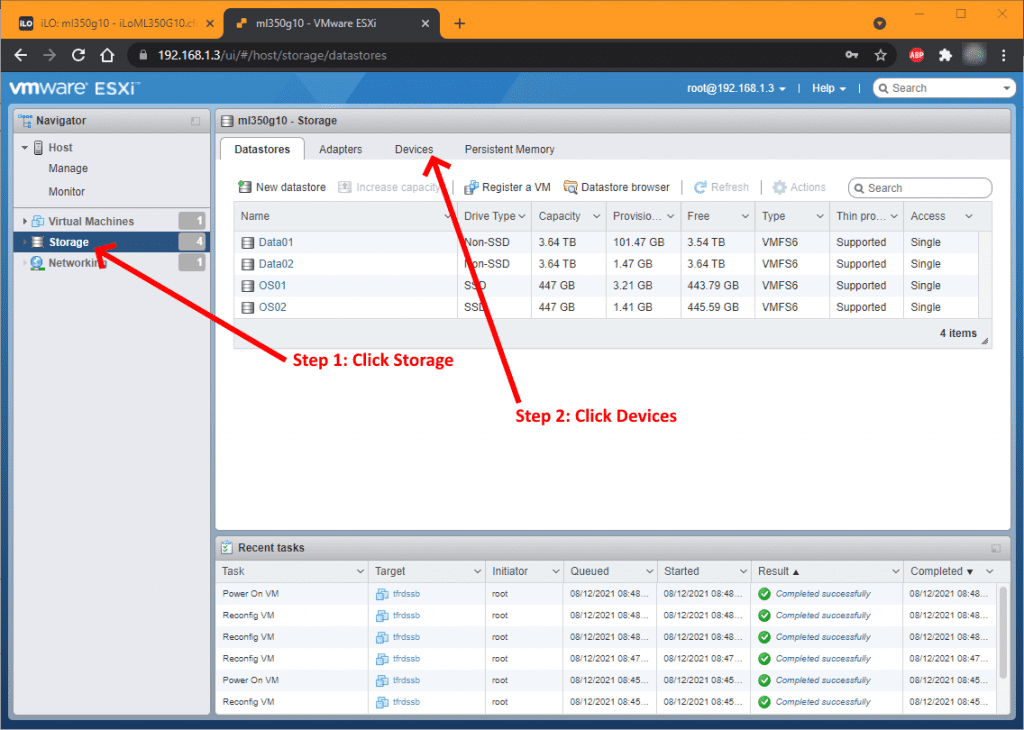
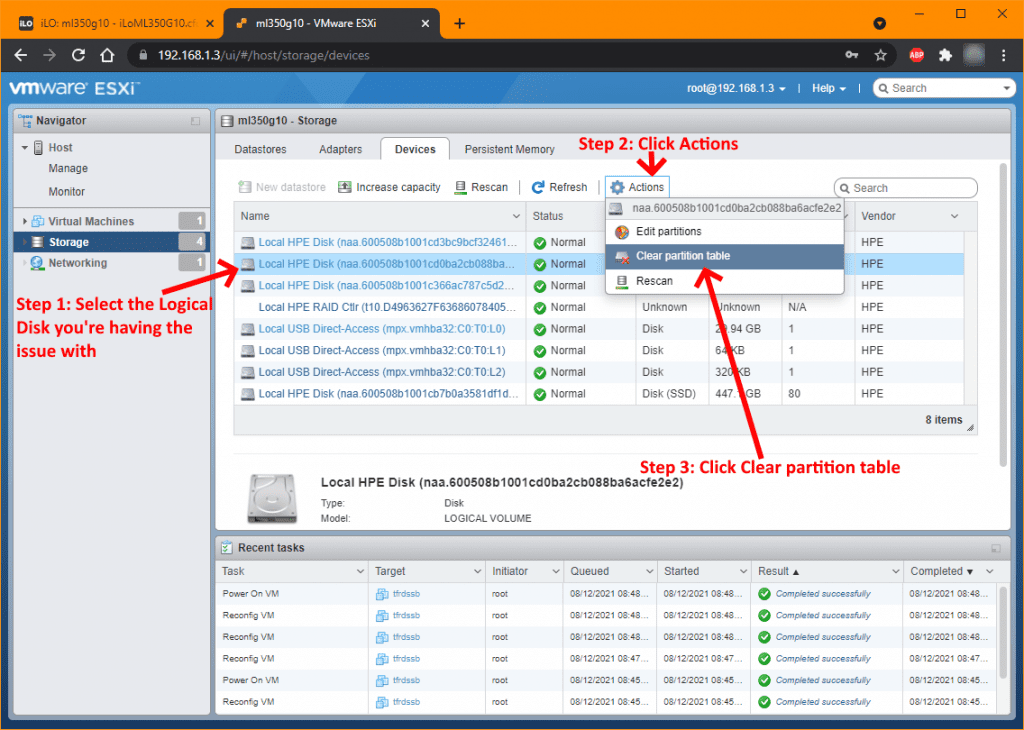
Log into your ESXi Web Console and then follow the screenshots below:
That's it, your task is complete. You can now add the storage to your ESXi instance and the SATA Logical drives will be made available to you.
If you've found this useful, you may want to sign up to our newsletter where you'll receive notices on when we post new articles and helpful "how tos". Just fill out your details below and we'll do the rest…


