


Firewalls are a critical component of any network security infrastructure. They work by enforcing access control policies, determining which traffic is allowed to pass through the network and which traffic should be blocked.
In a Windows Server environment, the Group Policy feature can be used to manage the firewall settings for a group of computers. This allows you the administrator, to define and enforce consistent firewall policies across the network. Today I'm going to show you how to import firewall rules into a Group Policy so you can apply these firewall rules to a group of computers.
In our case, we needed to create standard firewall rules for a Remote Desktop farm, and this was the easiest and quickest way to roll out the firewall rules in a consistent and controlled manner. The way we did it was to create the rules we required on one of the RDP Session Hosts and exported them so this template could be applied to all RDP servers in the farm. Follow the steps outlined below:
Step 1: Create the Necessary Firewall Rules and Customise as Required
The first step is to create the firewall rules that you want to import into the Group Policy. In our case we had 6 RDP Session Hosts in our RDP farm named RDS01 through to RDS06, so we created the "master set" on RDS01.
To start the setup, we logged onto the RDS01 Session Host and opened the Windows Defender Firewall MMC Console. To access this tool, click Start, type "Windows Firewall" in the search box, and then press Enter. Then, in the access panel on the left click Advanced Settings.
In the Windows Defender Firewall console, click Inbound Rules or Outbound Rules, depending on the direction of the traffic you want to filter. Then, click New Rule to open the New Inbound Rule Wizard or the New Outbound Rule Wizard, depending on your selection. Follow the wizard to create the rule, specifying the criteria for the traffic you want to allow or block, such as the port number, protocol, IP addresses, and so on. When you've finished, save the rule with a meaningful name.
Complete this procedure for each custom Firewall Rule you require for both Inbound and Outbound rules. An example of what it looks like is in the screenshot below:

Step 2: Export the Firewall Rule
Once you have created all the custom firewall rules you require, you'll need to export it to a file. This file will contain all the firewall rules from your "master" server, including its name, description, settings, and so on.
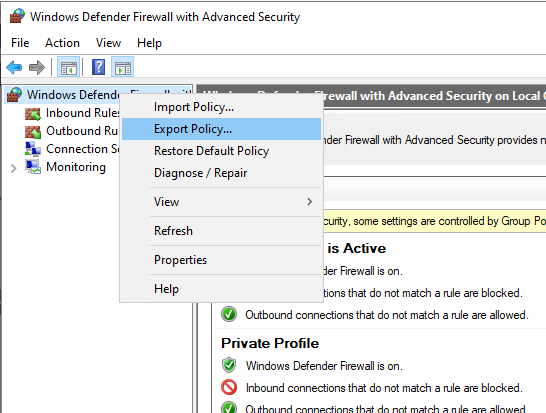
To export the rule, right-click it in the Windows Firewall with Advanced Security console, and select Export Policy. See example below:
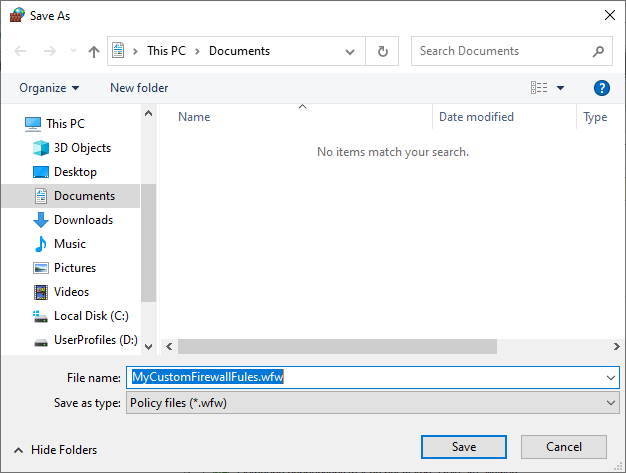
In the Export Policy dialog box, specify the location and name for the file, and click Save. The file extension should be .wfw by default. See example below:
Step 3: Import the Firewall Rule into Group Policy
Now that you have your custom firewall rule file, you can import it into a Group Policy Object (GPO) that is linked to the domain or organizational unit (OU) that contains the computers you want to apply the rule to.
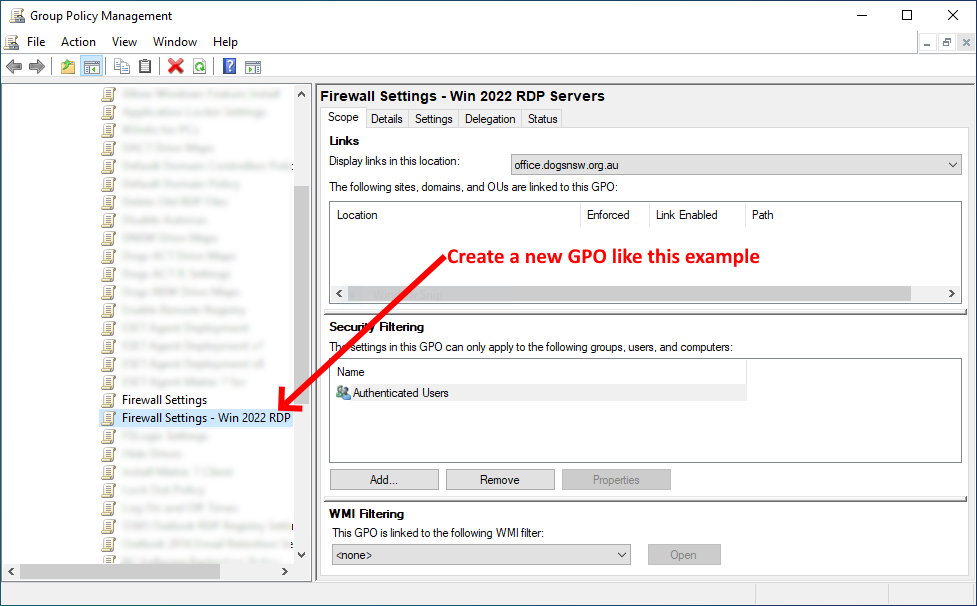
To do this, open the Group Policy Management console, and create a new GPO. See example below:
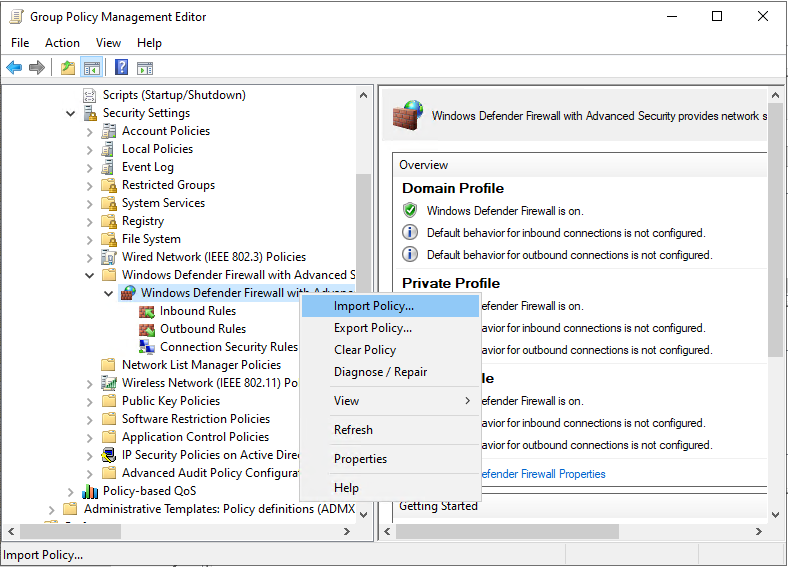
Right-click the GPO you created like the example above, and select Edit. In the Group Policy Management Editor, navigate to Computer Configuration > Policies > Windows Settings > Security Settings > Windows Firewall with Advanced Security. Then, right-click the Windows Defender Firewall with Advanced Security folder and select Import Policy. See example below:
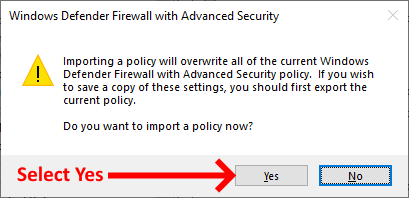
You will receive a warning that this will overwrite all the rules in this GPO. Select Yes to continue:
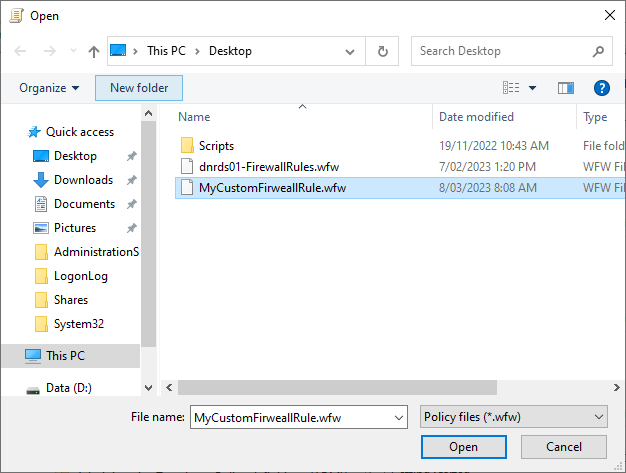
In the Import Policy dialog box, specify the location of the firewall rule file, and click Open.
The rule will be imported into the GPO, and you can verify this by looking at the rules in the console to ensure that they match what you exported from your "master" server.
Step 4: Apply the Firewall Rule to Computers
The last step is to apply the firewall rule to the computers in your nominated OU. To do this, link the GPO that contains the rule to the OU that houses your servers. In our case we had an OU that contained all of the RDP servers.
You can do this by right-clicking the OU, and selecting Link an Existing GPO. Then, select the GPO that contains the firewall rules you created earlier, and click OK. Once complete, simply run the following in a command prompt on each of the servers to apply the GPO:
gpupdate /force
That's it, your task is complete...
If you've found this useful, you may want to sign up to our newsletter where you'll receive notices on when we post new articles and helpful "how tos". Just fill out your details below and we'll do the rest…


