


Today I'm going to show you how to use the VMWare OVF Tool to migrate your virtual machines to a new ESXi host. This is particularly pertinent when you've got a small implementation and are using the free version of VMWare and don't have access to vCenter to be able to clone the VMs to a different host.
The other issue is to ensure that the Virtual Machine has been shut down on the source ESXi server. This procedure does not support hot cloning/migration.
Let's start...
First, download the OVF Tool from here…
Once you've downloaded and installed the tool relevant to your PC System Type (32bit or 64bit), we can commence the process.
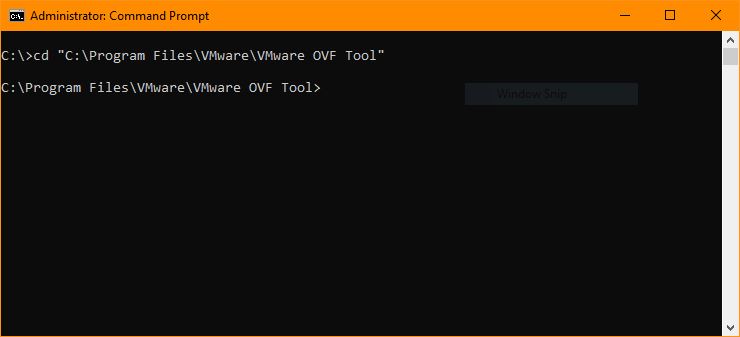
Open a command prompt as an admin and navigate to the following directory:
cd "C:\Program Files\VMware\VMware OVF Tool"
The path above represents the path that my version of the OVF Tool was installed. Yours may be different, so please change the path to suit your environment. You should have something like the following in your command prompt window:
Once you've confirmed that the Virtual Machine you wish to migrate has been shut down on the source ESXi server, we can commence the procedure...
In my case the server setup was as follows:
Source Server IP: 192.168.8.8
Source Server Virtual Machine Name: Corver
Destination Server IP: 192.168.8.111
Destination Server Data Store Name: Data
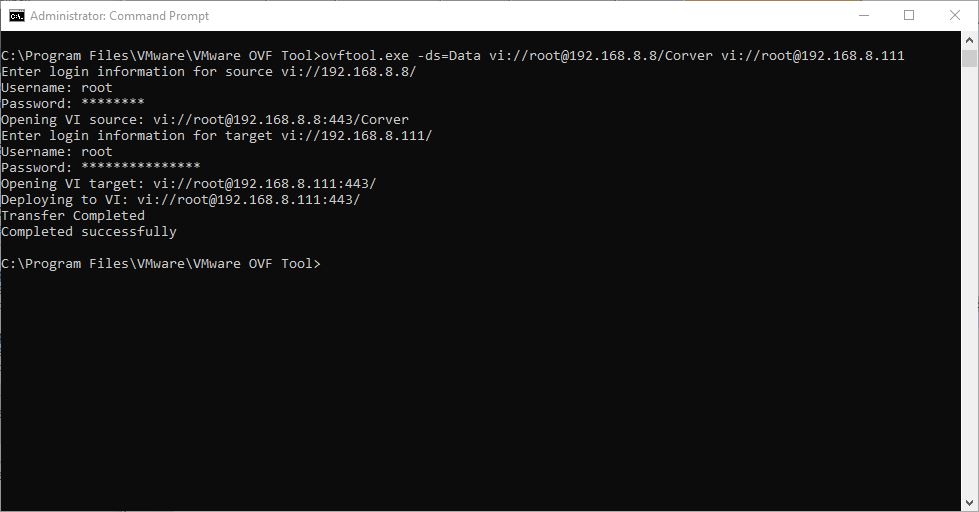
So armed with that information we can now start the migration process. Return to your Command Prompt window and type in the syntax below. Ensure you change the Virtual Machine Name, Datastore, source and destination ESXi server details to suit your environment:
ovftool.exe -ds=Data vi://[email protected]/Corver vi://[email protected]
Below is a break down the makeup of the syntax above:
ovftool.exe: This is the actual executable that will carry out the task-ds-Data: This is the destination ESXI server Datastore you wish the VM to migrated tovi://[email protected]/Corver: This is the source ESXi server IP and Virtual Machine namevi://[email protected]: This is destination ESXi server
The length of time this task will take is wholly dependent on the size of the VM you're migrating. In my case this took roughly two hours, but the VM was 500GB and the source machine was very slow. Once complete, your command prompt windows should resemble the following screenshot:
To test your migration, simply log onto your destination server ESXi web gui and turn on the machine to ensure it has been migrated successfully.
That's it your task is complete.
If you've found this useful, you may want to sign up to our newsletter where you'll receive notices on when we post new articles and helpful "how tos". Just fill out your details below and we'll do the rest…


