
Just a quick post today to show you how to install O365 on your Windows 2019 RDP server. As far as I'm aware at this point in time, you can only install the Office 365 ProPlus version on an RDP server.
O365 licenses like Business Premium etc, do not come with ProPlus and therefore are restricted to desktop operating systems like Windows 8, 8.1 and 10 etc.
Firstly, let's get setup by downloading the Office Deployment Tool here...
Save the ODT file to your downloads folder and then create a folder on your C:\ drive called ODT. Now open up an Admin PowerShell instance and type in:
change user /install
This will place your RDS server into install mode and if you're not sure what that means, there is an article I wrote ages ago that explains it in detail here...
We can now run the Office Deployment Tool we downloaded to our Downloads folder earlier in this tutorial. In my case it was called officedeploymenttool_12325-20288.exe, but yours may be different.
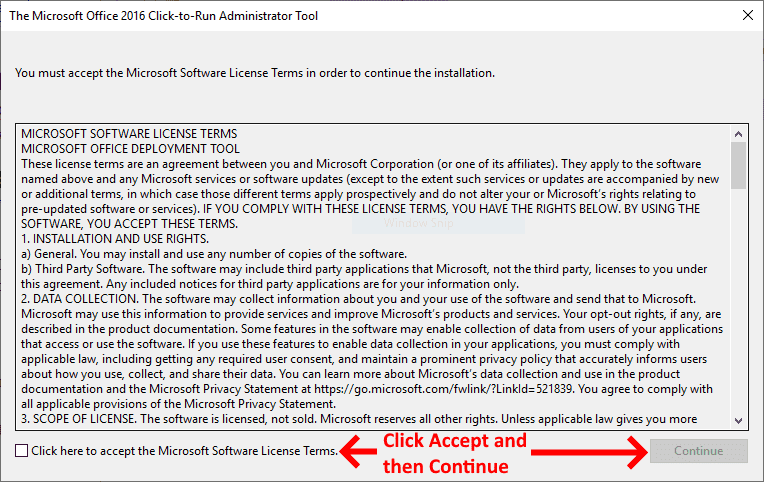
Navigate to your Downloads folder and double click the file. Now follow the screenshots below:
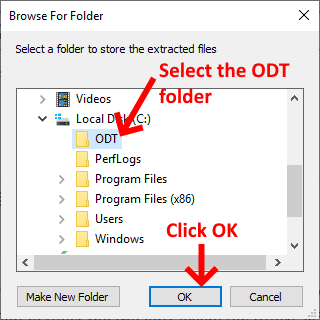
The files will be extracted to the ODT folder and you'll receive a confirmation dialogue box like the following example:
Now navigate to your C:\ODT folder and you'll notice you'll have 4 files in the folder like as shown below:
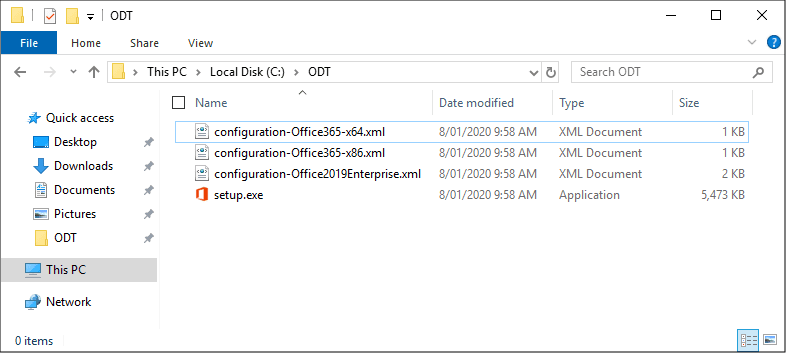
You need to delete all the included XML files and we'll create our own custom one to suit our installation scenario. So in my example, I'm going to delete the following files:
- configuration-Office365-x64.xml
- configuration-Office365-x86.xml
- configuration-Office2019Enterprise.xml
Leaving just the setup.exe file in the folder. Now we're going to create a new XML file called configuration.xml in the C:\ODT folder and paste the following code within it:
<Configuration>

<Add OfficeClientEdition="32" Branch="Current">
    <Product ID="O365ProPlusRetail">
    <Language ID="en-us" />
    <Display Level="None" AcceptEULA="True" />
    <Property Name="SharedComputerLicensing" Value="1" />
    </Product>
    <Product ID="VisioProRetail">
    <Language ID="en-us" />
    </Product>
</Add>

</Configuration>
Save your newly created configuration.xml file and once done, you'll be ready to to install Office 365 on your RDP server.
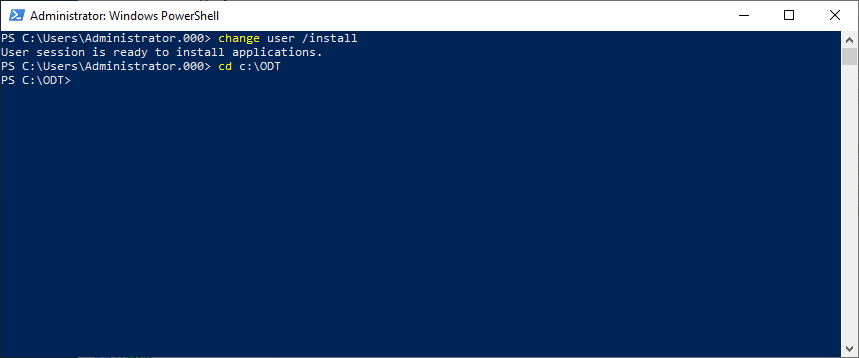
Once again, ensure your RDP server is in install mode by opening an Admin PowerShell instance and typing in:
change user /install
Now navigate to your C:\ODT folder within your PowerShell window like the following example:
Now you can run the initial download of the O365 ProPlus software by executing the following command:
.\setup.exe /download configuration.xml
It will take a while to download the installation packages, so please be patient. Once the download is complete, your PowerShell prompt will be ready to accept a new command. To check what has been downloaded, you can see a newly created folder called Office within your ODT folder. If you check the properties, you'll see it's roughly 2GB in size.
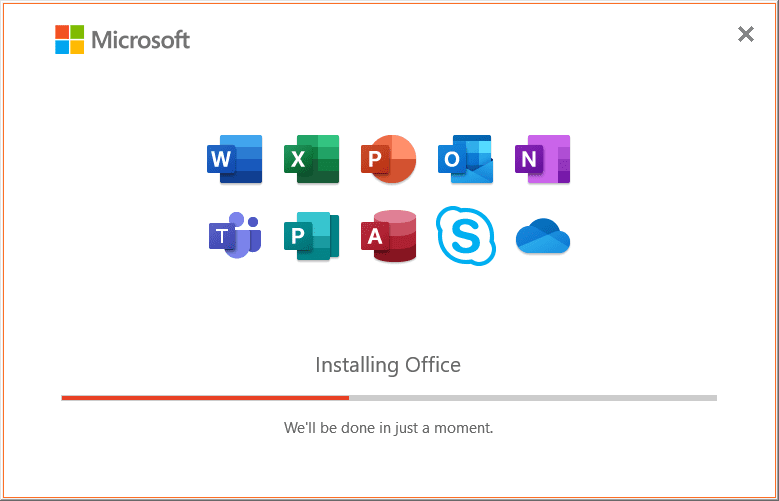
We're now ready to install O365 ProPlus onto our RDP server. To do so, in your PowerShell window type in the following command:
.\setup.exe /configure configuration.xml
The Office 365 installation will be displayed to indicate the installation progress like so:
It will indicate that the task is complete when you see the following screen:
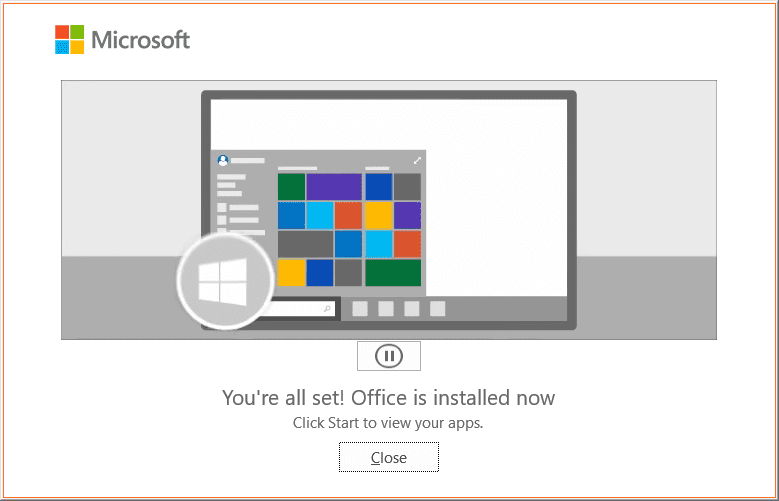
Now go back to your PowerShell screen and type in the following syntax to take your RDP server out of installation mode:
change user /execute
Your O365 ProPlus installation is complete and ready to use on your RDP server.
* * In some cases you may find that your users receive the error that this product can't be activated in a shared computer environment. If that's the case in your setup, please follow the tutorial here...
Please make any comments or suggestions in the comments section below...
If you've found this useful, you may want to sign up to our newsletter where you'll receive notices on when we post new articles and helpful "how tos". Just fill out your details below and we'll do the rest...