Recently we experienced an issue with one of our clients where a specific user in a Win 2019 RDP Farm couldn't log onto their profile. No one else in the office was experiencing this issue and it was affecting just one user. The environment was a typical setup with 3 sessions hosts and 1 session broker and the users profiles are housed in UPDs (User Profile Disks).
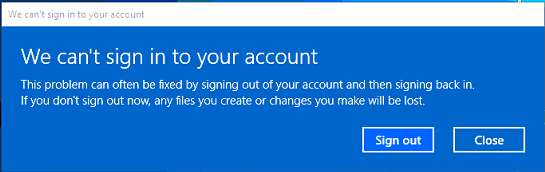
The error message they were receiving was "We can't sign in to your account" when trying to log in to their Win 2019 session using the Remote Desktop Protocol (RDP). It took a while to determine the cause so I thought it would be good to document the solution so you don't have to go through the issues we did.
The user is more than likely getting the following error message when they log on:
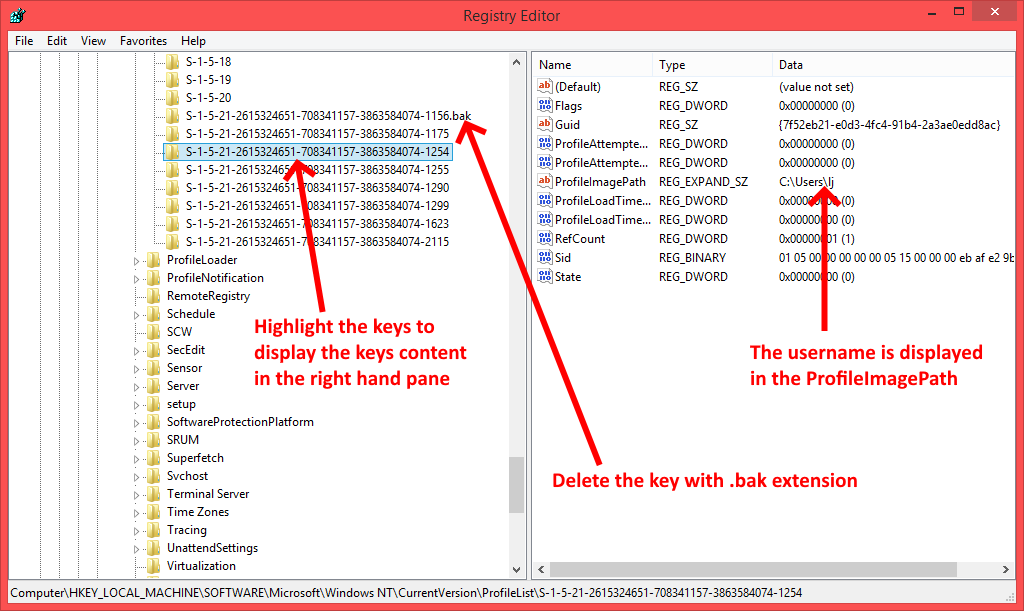
Before you begin this rectification process, you need to determine which server your user is logged into in your RDS farm. Log onto that server as an admin and open the registry editor and delete the users key that has the ".bak" extension.
You can cycle through the keys to determine which user is affected at the following location:
Computer\HKEY_LOCAL_MACHINE\SOFTWARE\Microsoft\Windows NT\CurrentVersion\ProfileList
You need to ensure that the user is totally logged off the server prior to to following the screenshot below:
The issue really stems from one of your RDP Session Hosts not releasing the User's Profile Disk (UPD) and so it still has exclusive rights to the disk. Therefore, when the user logs on the following day and gets issued a different session host, it can't attach the disk and the user is issued a temporary profile.
Firstly, you need to download Sidder which is a small app the helps you determine who owns each UPD from here... You should have a list of UPDs and under the Username column will be the owner of that UPD like the following example:
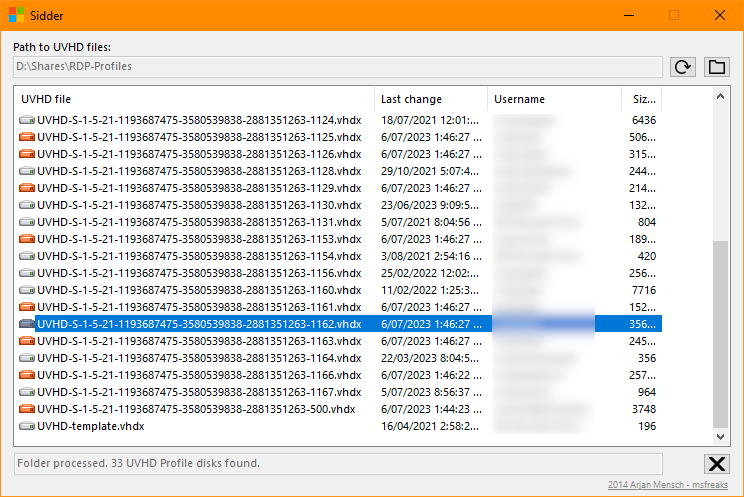
Take note of the UPD file name for the user in the screenshot above. Now on your server that houses your UPDs, open the Computer Management console and navigate to Share Folders > Open Files like in the following example:
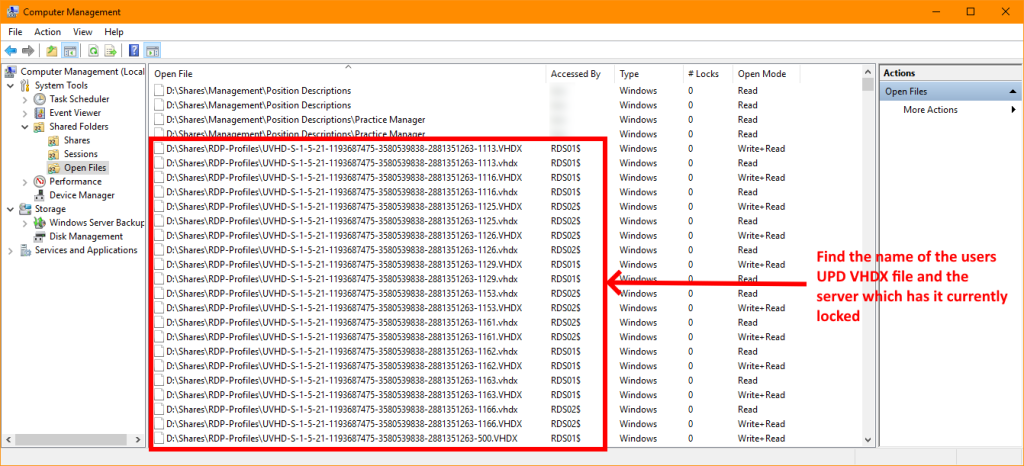
Under the Accessed By column you'll find the server name that corresponds to the UPD name you garnered from the Sidder application. This is the server that currently has the UPD attached that effectively prevents any other server accessing the file.
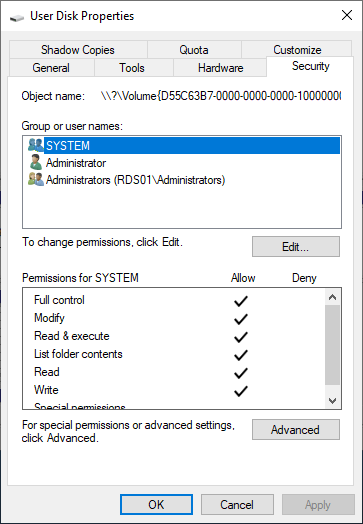
Now log onto the session host server that has the UPD exclusively locked/attached and open Disk Management. Then, you'll need go through each User Disk that's listed until you find the correct one by Right Clicking each one and selecting Properties like the following example:

The user will be listed under the Security tab of the Properties window like the following example:
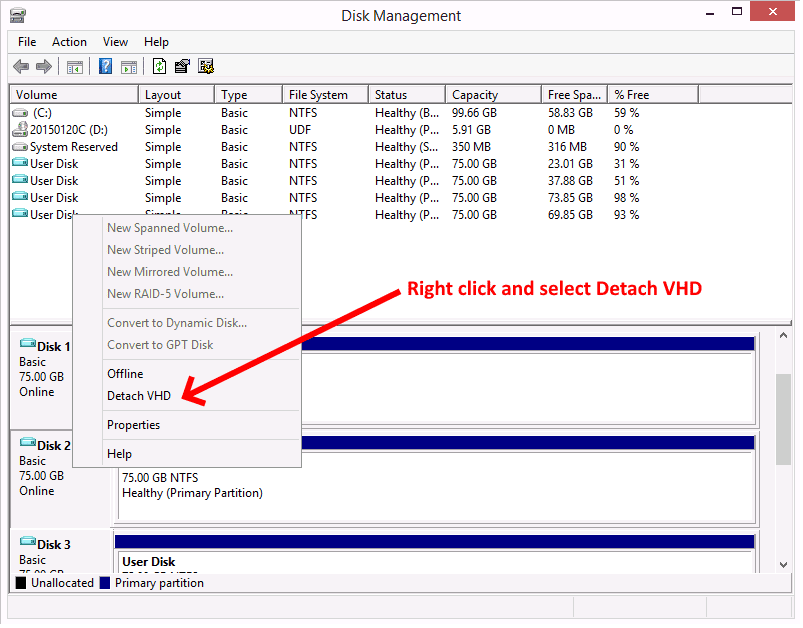
Once you've determined which disk it is, simply follow the screenshot below to detach it from the server:
You've now released the lock on the UPD. Your user should now be able to log on without any issue. Your task is complete!
If you've found this useful, you may want to sign up to our newsletter where you'll receive notices on when we post new articles and helpful "how tos". Just fill out your details below and we'll do the rest…